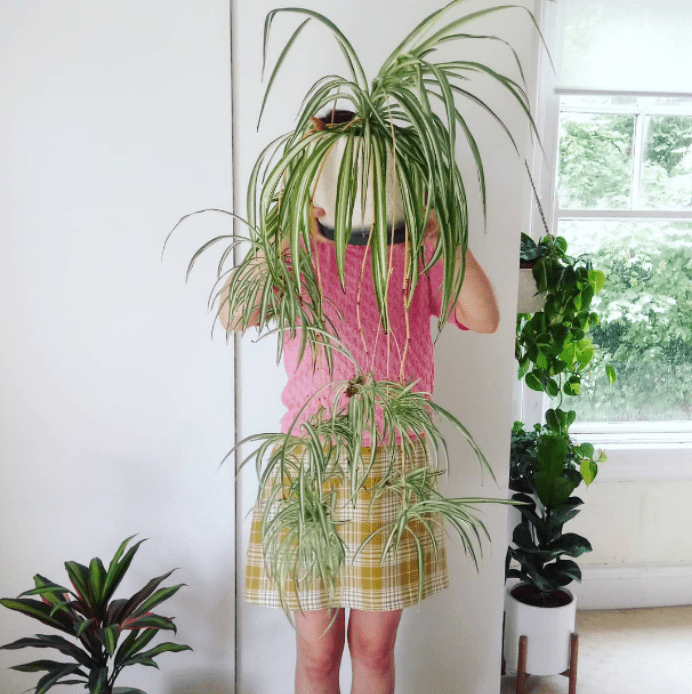
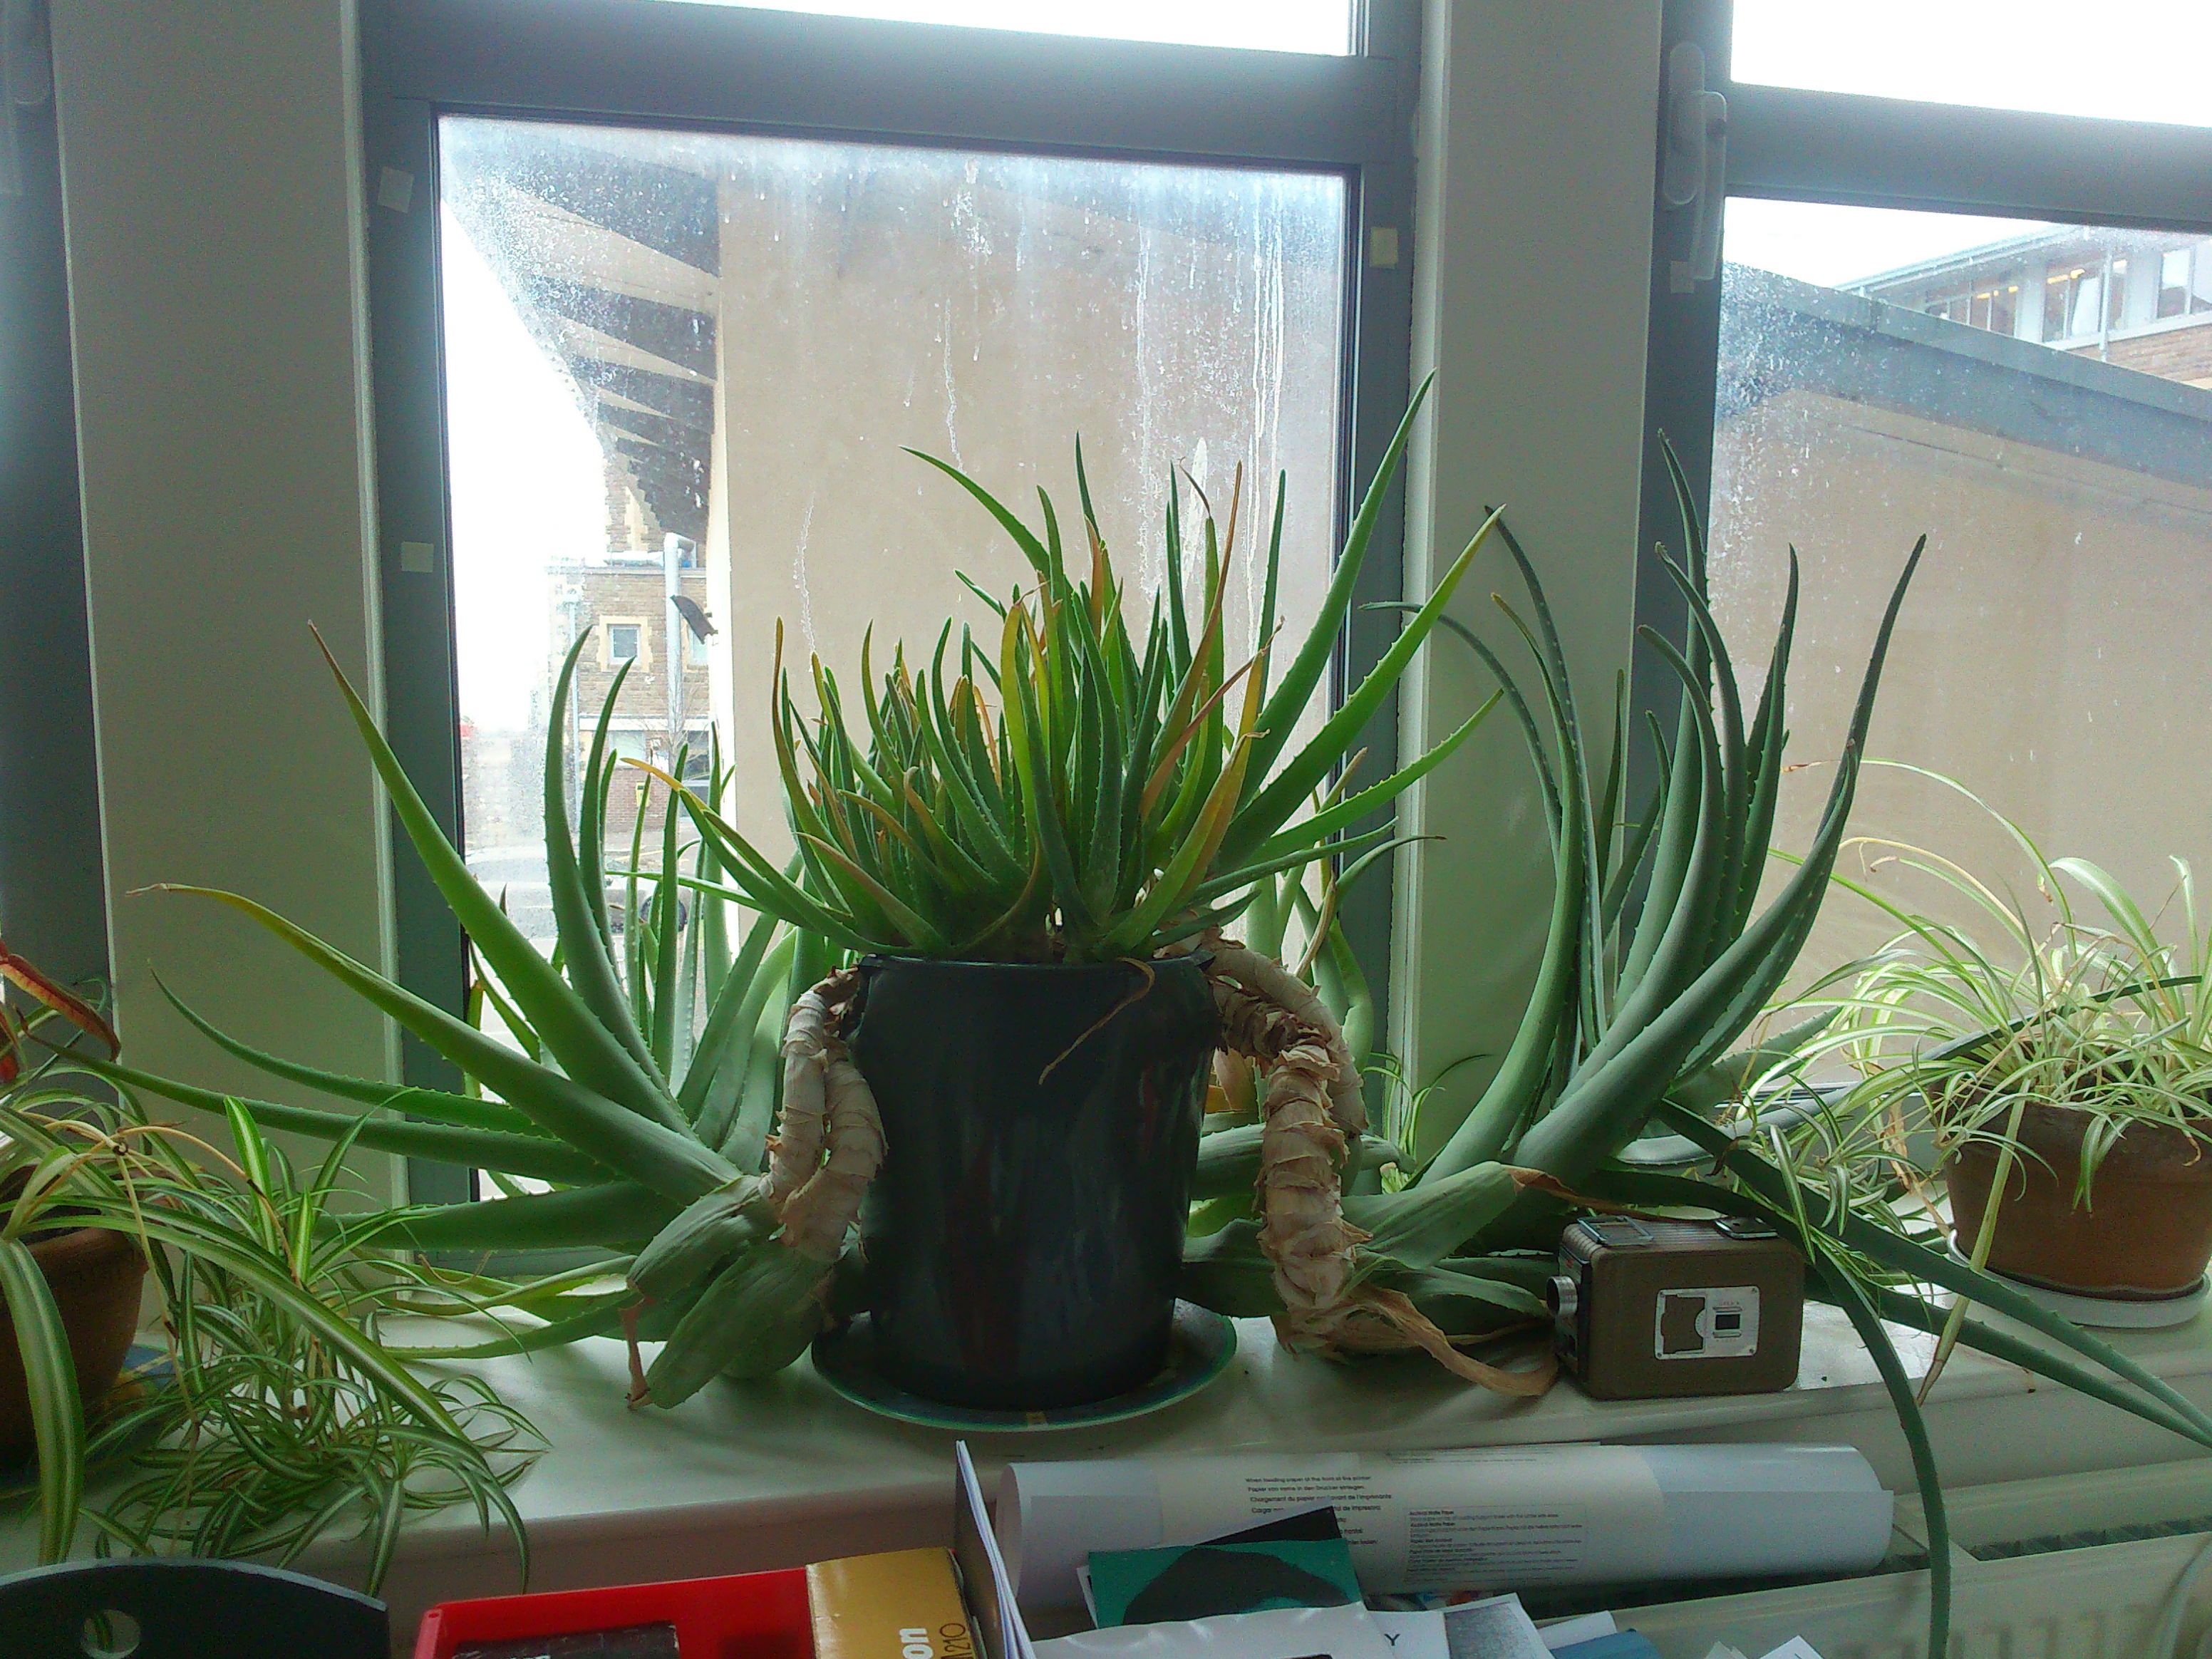
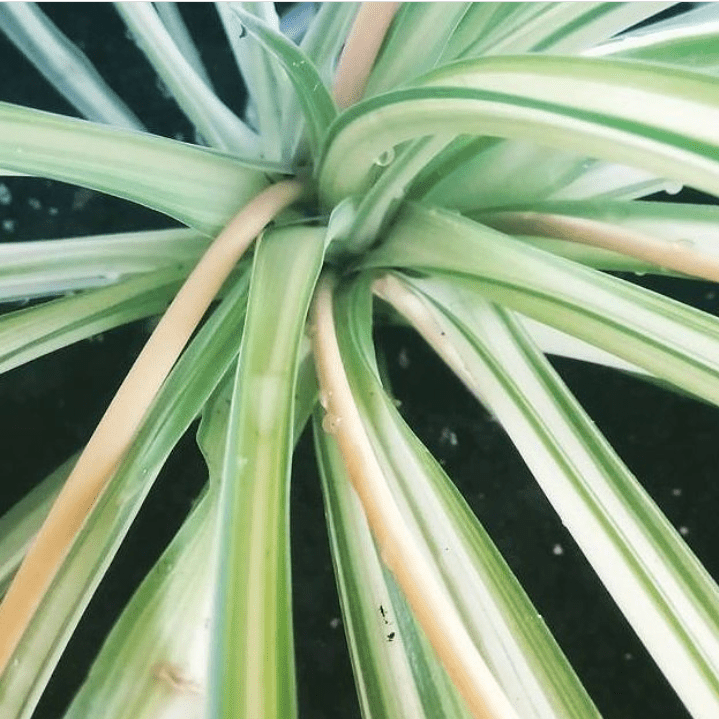
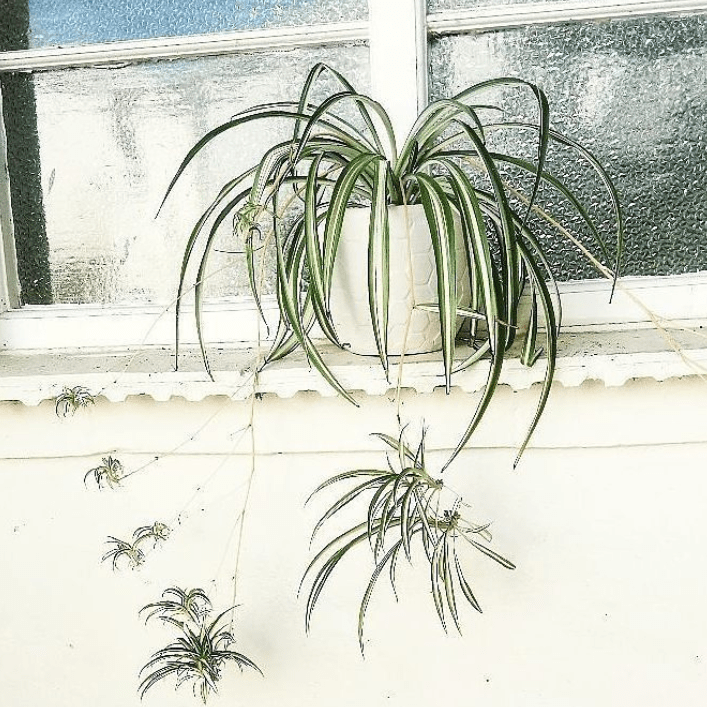
After sharing my current spider plant situation over on Instagram I thought I would get together some progress photos. Despite being considered a bit retro by some, they are a staple in my plant collection. The humble chlorophytum are some of the easiest plants to grow, so for those getting into plants, they are a great starting point! I got given my spider plant as a cutting four years ago from one of the plants in the photograph below – my work-friend Sarah’s ‘rescue windowsill’.
If you want to read my post from last year about the different types of spider plants and my growing experiments at that stage, then you can have a read here before returning to this post. Below shows the first photos I have of the plant (long before I joined Instagram and started obsessively photographing my plants…!) in December 2015 after I had rooted it in water. The next duo shows the progress in October 2016 and when the plant started producing runners for flowers and spider plantlets to form.


PROPAGATION TIPS:
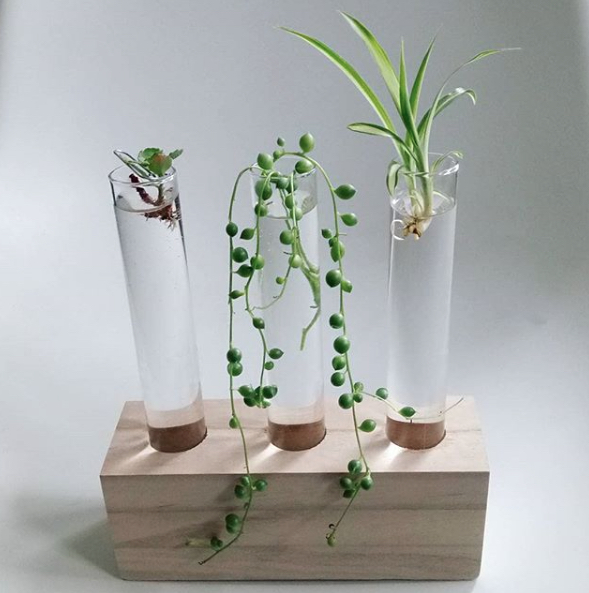
There is quite a high chance that you received your spider plant from a cutting – once they start making runners and platelets, they are the ultimate sharing plant! I’d consider them the original ‘pass it on’ plant that pilea peperomioides are now known as. I like to root my plantlets in water, but they also root well in soil – it’s just personal preference. If you are rooting in water, I like to leave in indirect light until the roots are approximately 4-6cm long.

POTTING ON
The most important piece of advice I give about chlorophytum growing is pot size. Indeed, I learned this from my own experiences of trial and error – the pot in the photo from December 2015 is a bit big for the size of the plantlet. If the pot size is too large, the plant will expend it’s energy growing roots, instead of foliage. I recommend keeping the pots as small as possible and repotting when the roots have reached the bottom of the pot.


By August 2017, the plant was in need of a more major repot – as the roots show, it was very restricted (which is why it was producing a lot of plantlets). These roots were loosened by hand so that they settled into their new pot more comfortably. It’s really important to do this and not just pot the plant straight into new compost with the roots compacted in this way.


PLANTLETS
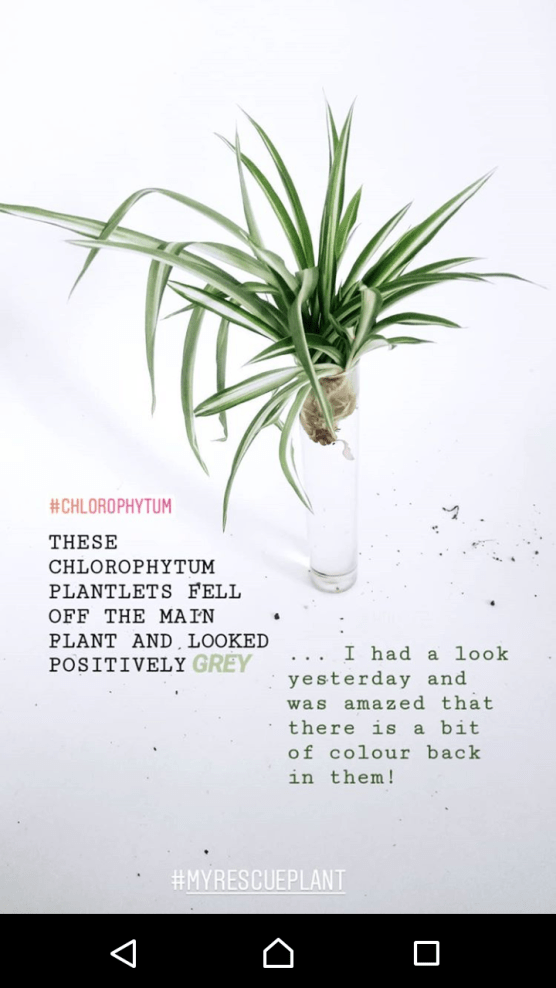
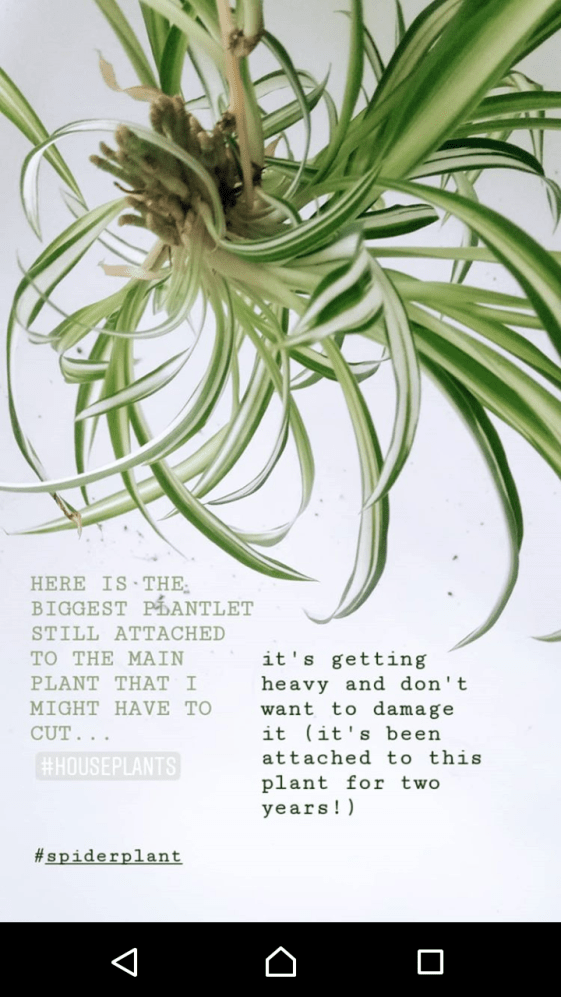
The spider plant babies can grow off the main plant for a number of years with no issues, but as they mature, they can cause some stress to the main plant. At present, my plant is struggling with the weight of some of the larger plantlets, which I might have to remove soon. If they start getting pale, it means the stems aren’t carrying enough goodness to the plants – there are now two options; remove and propagate, or treat with water therapy. Water therapy in this case would mean placing the still attached plantlet into water so the roots can hydrate the main plant and regain some of it’s strength. It will mean that the roots will grow in water, but at this stage, the main priority is keeping the plant healthy. It’s worth noting that these plantlets are taking energy from the main plant in the same way that any other flowering inflorescence would, so if you notice the plant struggling, I’d recommend giving the runners the chop.

WATERING ADVICE:
Spider plants are one of the most common plants to react adversely to straight-from-the-tap water, which can cause brown crispy edges on the leaves. Most people encounter this problem at some point and it will not harm the plant if you want to snip off the ends for aesthetic reasons! I would try cut the foliage to a point though as opposed to straight across so that the cut doesn’t look too ‘severe’ and false.
I would recommend filling your watering can the night before and allow the water to sit overnight, I have found this does help to some extent. Even better, room temperature / tepid water is better too to avoid shocking the roots, so this method will help both of these potential issues. It’s worth noting however, that a preferable option would be to use rain water or distilled water if possible.
Humidity is also an element that will play a part in this. Chlorophytum also are quite sensitive to ‘fertiliser burn’ so be sure not to fertilse dry plants – water before fertilising… and measure your fertiliser!

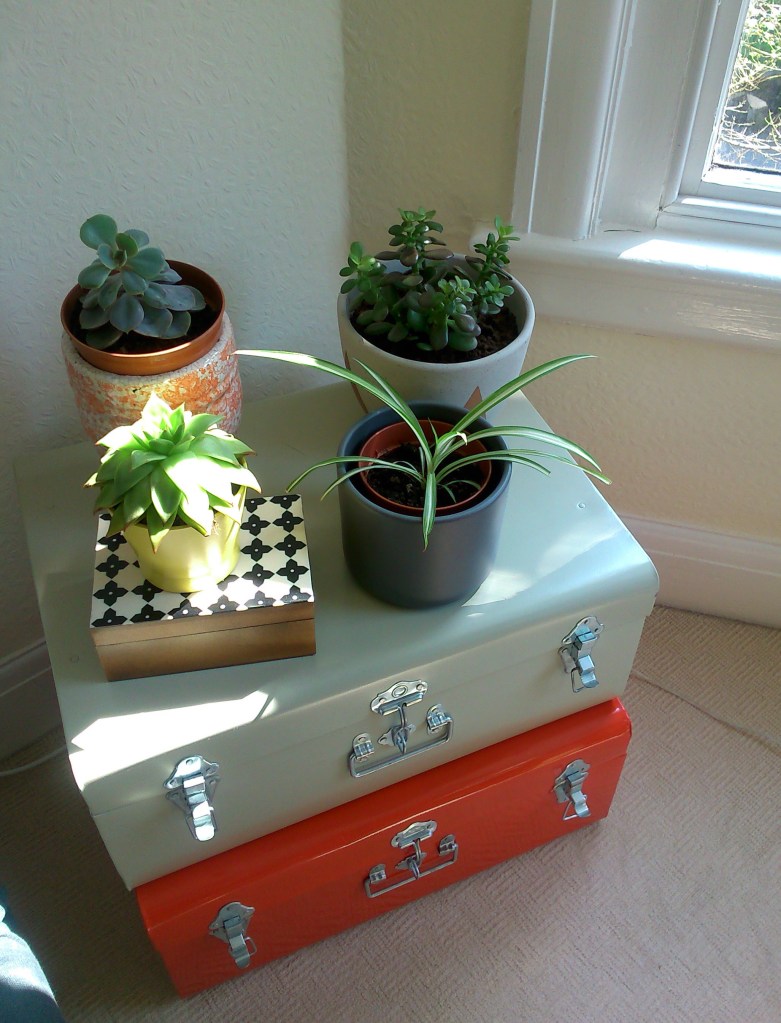
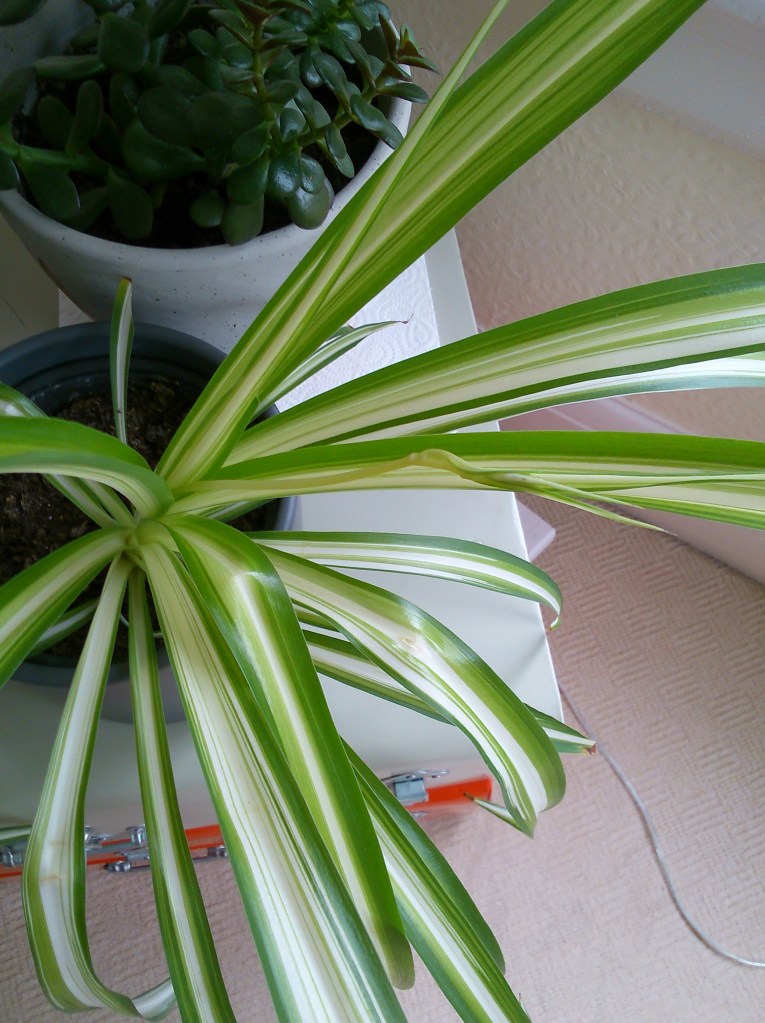
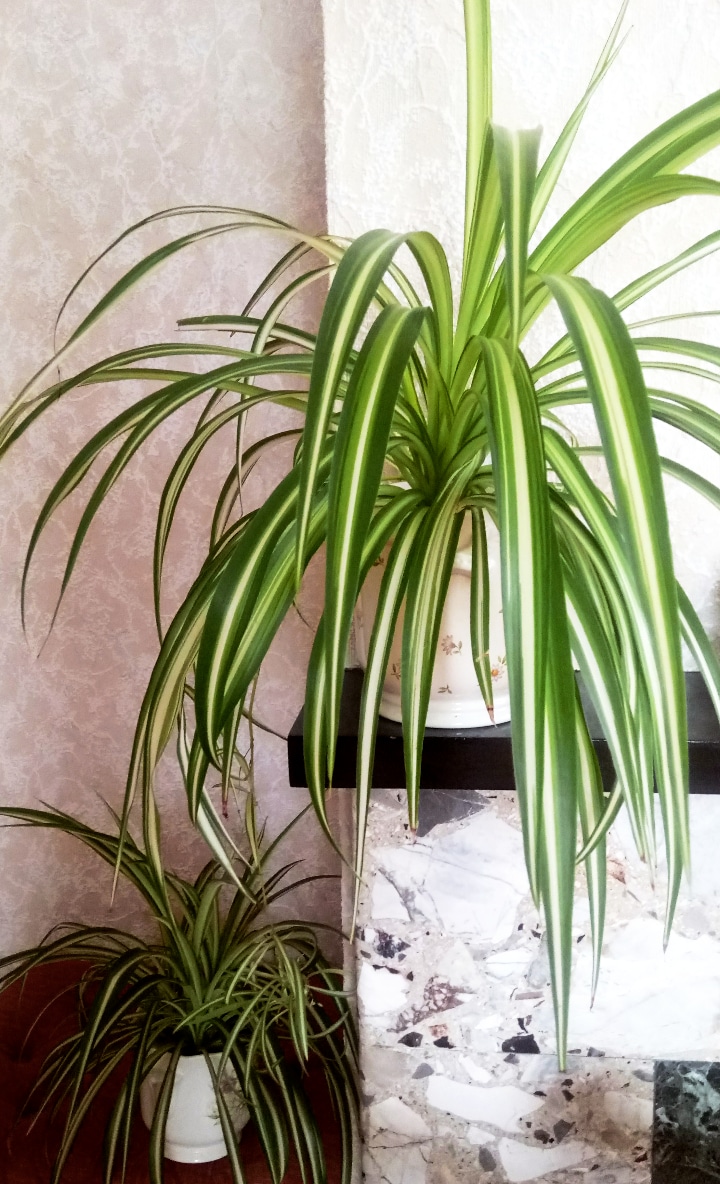
As the photo above shows, I like to water on a drip try on my desk, where I can carry out a good inspection of the plant at the same time. Below are some of the plants I have grown from spider plantlets that I have given to my Nan – the larger of the two has just produced it’s first runner and tiny plant… which now makes the main plant a grandmother!

Leave a Reply